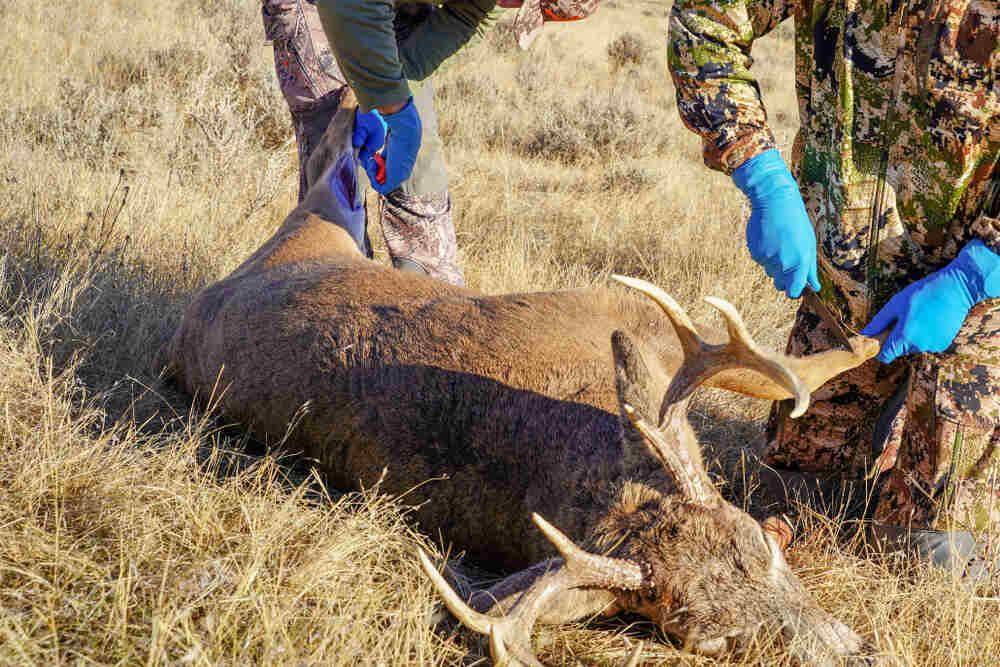
Field dressing is a basic skill that every hunter should know how to do. It's not just about preparing the carcass for freezing or cooking; it's a mark of respect for the animal and its life. So when it comes to field dressing for the first time, what should you do? This guide is aimed at answering that very question.
How Long Can You Wait to Field Dress a Deer?
It’s best not to delay the inevitable. Even though deer are naturally well-insulated with fur and fat, warm weather can present a fertile ground for bacteria. Some hunters like to carry their kill around like a trophy all day, but this isn’t the best idea, according to North American Whitetail writer Gordon Whittington:
“...don't drag the ungutted critter around all day if you can avoid it. There's no upside to letting the body temperature stay high, even for the time it takes to show your deer around town. Those entrails and organs need to come out eventually, so get it over with.”
How to Properly Field Dress a Deer in 4 Steps
Cover each stage of the field dressing process, including tools needed, safety precautions, and detailed instructions on skinning, gutting, and cleaning the deer. Highlight ethical handling of harvested game and help the reader efficiently and hygienically process the animal in the field.
1. Get Your Hands on The Right Tools
Field dressing a deer can get somewhat messy, but it’s not rocket science. Still, you want to make sure you’ve got the right tools for the job. So stock up on these items:
- Gloves
- Two Good Knives (One heavy-duty one for cutting through skin, hair, cartilage, and joints, and another more flexible, sharp knife for carving out meat)
- A Small Foldable Bone Saw
- A Headlamp (For Nighttime Field Dressing)
- Paper Towels & Clean Rags
- Rope (And a Sled if There’s Snow on the Ground)
- Cooler or Ice Chest With Ice
- Gut Hook or Coat Hangar
- Kitchen Twine
- Hand Sanitizer
- Game Bags or Clean Trash Bags
2. Take Safety Precautions & Position the Deer
Pack bandages and a first aid kit so that if you injure yourself, you can get yourself all cleaned up and bandaged.
Next, position the deer by placing its head uphill. Hunter-ed.com recommends that you place “two large rocks or logs under the shoulders and two under the hips”.
3. Skin & Gut the Deer
Once you’ve positioned the deer, it’s time to begin the process of removing the skin and innards. Here’s how Field and Stream recommends completing the process:
- Cut around the anus (many states require leaving evidence of sex intact).
- Unzip your buck.
- Saw open the check cavity.
- Cut the diaphragm.
- Cut the windpipe.
- Pull everything out.
- Bag or bury the gutpile.
For a more detailed overview of how to field dress a whitetail deer, we recommend checking out MeatEater’s YouTube video “How to Field Dress a Deer with Steven Rinella", which offers a very similar step-by-step guide to the one we’ve just provided with visuals.
4. Wipe Down the Carcass & Chill It
After gutting the deer thoroughly, remove any excess tissue, and wipe it down with paper towels. Using water is not recommended. You should only spray the deer down with water if the exposed flesh has been spoiled by stomach contents. Then, make sure to dry thoroughly, and hang for around 20 minutes if time allows.
Next, get the deer on ice ASAP. Do not freeze right away (doing so will inhibit the aging process and can promote spoilage — keep the carcass at 34-38 degrees Fahrenheit).
Learn More
Check out our blog post “Deer Bow Hunting 101: Tips to Improve your Deer Hunting Strategies This Season” to learn more tips and tricks to help you hunt successfully and ethically.
Want to attract more deer to you? Train them to feed during the day with the Tectonic Deadfall Deer Feeder. Learn more about this automatic feeder and order yours today.

